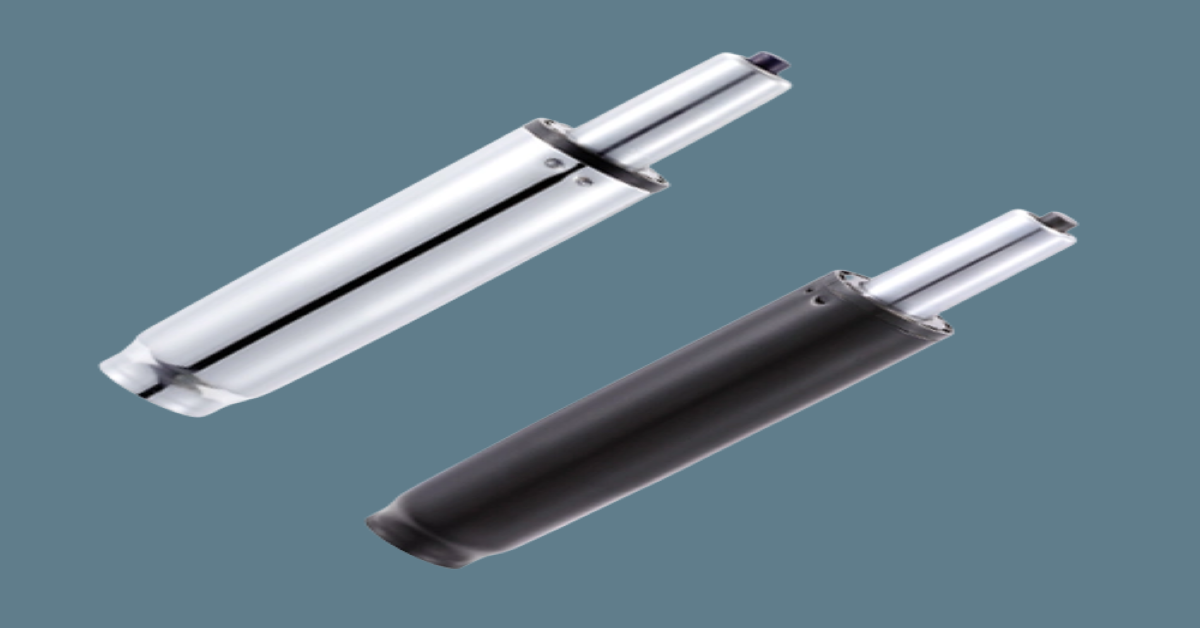
Right through this guide, we will explain you about how to remove gas lift from office chair. By knowing the fact that how you can remove the gas lift from the office chair can handle different situations to control the chair.
It might be possible that you have a long day to go in office and suddenly your chair has started giving your discomfort. This is when you can cope up with gas lift to adjust the chair better. Let’s see how it is possible!

Step By Step Guide On How to Remove Gas Lift from Office Chair
Step no 1: Preparation
First of all, you need to remove all those tools which are needed for removing the cylinder or gas lift. It would be best to first collect all the items and then start your mission of gas lift removal.
Do wear protective gloves and have some newspapers around the chair so the stains won’t damage the floor at any stage. You can place all the bolts, rubber mallet and pipe wrench on the newspaper so it won’t be lost.
Don’t hesitate when asking for the help at any point. Never do it alone if you have no basic knowledge about it.
Step no 2: Removing the gas lift
For removing gas lift, first you have to remove the coasters which are also known as wheels. Pull each one of it by using rubber mallet for removing it easily. For some people doing it with hand is also possible.
Now you have to turn the office chair upside down or even side to have an easy access. Either you can make it place under the newspaper or you can also replace it with mug. Remove the base with the help of rubber mallet by simply tapping it. Keep on doing it until and unless the base is not completely removed and then set it aside.
Use the pipe wrench and then tightly clamp it over the top by twisting it all around. Using the regular wrench might be a bit harder which requires enough strength. So using pipe wrench is the best option.
Next, you have to twist and loosen the gas lift. Pull it up for removing it. You need to be a bit careful about the rubber mallet from causing any scratch to the gas lift.
Step no 3: Reassembling your office chair
Last step is about reassembling of the office chair. At the time of reassembling, you need to make sure that the chair mechanism is fully cleaned. Have all the dirt be away from it to let the things be put together on easiest terms. This is now your gas lift for the office chair is finally prepared.
Let the gas lift be inserted into the socket with the help of rubber mallet or the hand. Do it with the full force so you can actually see that the gas lift has been inserted into the place tightly and securely.
Once you are sure that it is secured, you have to insert the base on gas lift by using rubber mallet towards the other end. Use some gentle force for tightening it. This is how you won’t be having a loose base and hence it can work properly. Let the chair be lifted back to the position and sit on it. Your overall body weight might help you in pushing it down for an added security.
How you can maintain your office chair?
Maintaining the office chair is extremely important to use it for long lasting years and to prevent it from any future problem. And for that sake, make sure that the chair is cleaned properly with the vacuum in the low setting.

